
How to Do a Material Takeoff: Step-by-Step Guide for Contractors
If you want to do a material takeoff accurately, the short answer is this: review the drawings, break the project into measurable systems, count and measure every material from the plans, apply waste and conversion factors, and organize the results into a structured quantity list. A material takeoff (MTO) is the process of extracting every material quantity needed to build a project concrete, lumber, steel, drywall, wire, pipe, fasteners directly from construction drawings before any work starts. Contractors who know how to do a material takeoff can bid tighter, order smarter, and protect their margins from day one.
Whether you are brand new to estimating or tightening up an existing workflow, this is how to do a material takeoff the way seasoned pros do it. Below is the exact process professional estimators follow, plus the shortcuts that keep the work fast and the numbers honest.
What Is a Material Takeoff? (And What It Isn’t)
- What it is: A detailed list of the materials and quantities required to build a project.
- Based on drawings: Quantities are extracted from architectural, structural, and MEP plans.
- What it isn’t: A material takeoff does not include material costs, labor, equipment, or markup. Those are handled during the estimating and pricing stages.
- Why it matters: An accurate takeoff gives contractors a reliable foundation for bidding and ordering materials. Learn more about quantity takeoff in construction from Autodesk.
How to Do a Material Takeoff: The 9 Step Process
This is the workflow professional estimators use, whether the project is a 2,000 sq ft custom home or a 40,000 sq ft retail build-out.
Step 1: Gather and Review All Construction Documents
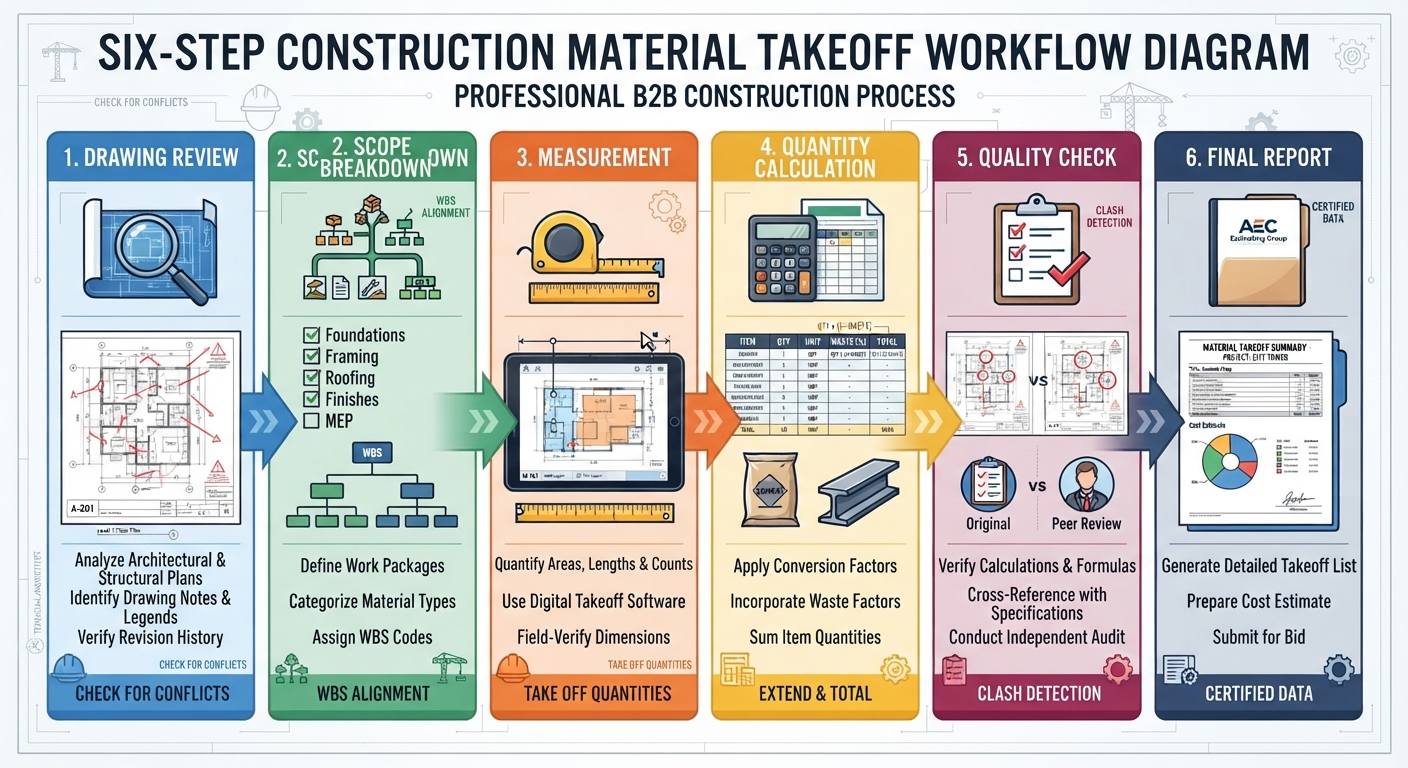
Before you measure anything, assemble the full drawing set architectural, structural, mechanical, electrical, and plumbing plans plus the specifications, addenda, and any RFIs that changed the scope. Read the general notes on every sheet. A single note like “all interior walls 5/8-inch Type X” changes your drywall count dramatically. Skipping this step is the fastest way to learn how to do a material takeoff the hard way: by missing scope and eating the cost.
Check the drawing index against the sheet count. Missing sheets mean missing quantities.
Step 2: Set Up a Structured Takeoff Worksheet
Open a spreadsheet (or takeoff software) with columns for: material description, unit of measure, quantity, waste factor, adjusted quantity, and drawing reference. Consistency matters. When you understand how to do a material takeoff as a repeatable system instead of a one-off task, your bids become comparable project to project, and your error rate drops.
Step 3: Scale Your Drawings and Verify Units
Confirm the drawing scale using the graphic scale bar. Don’t rely only on the written “1/4 in = 1 ft” scale, because PDFs may be resized or printed at non-standard sizes. Set the correct scale in your takeoff software before measuring; otherwise, your lengths, areas, and quantities can all be inaccurate. This simple step is easy to overlook, but it affects every measurement that follows.
Step 4: Break the Project Into Measurable Systems
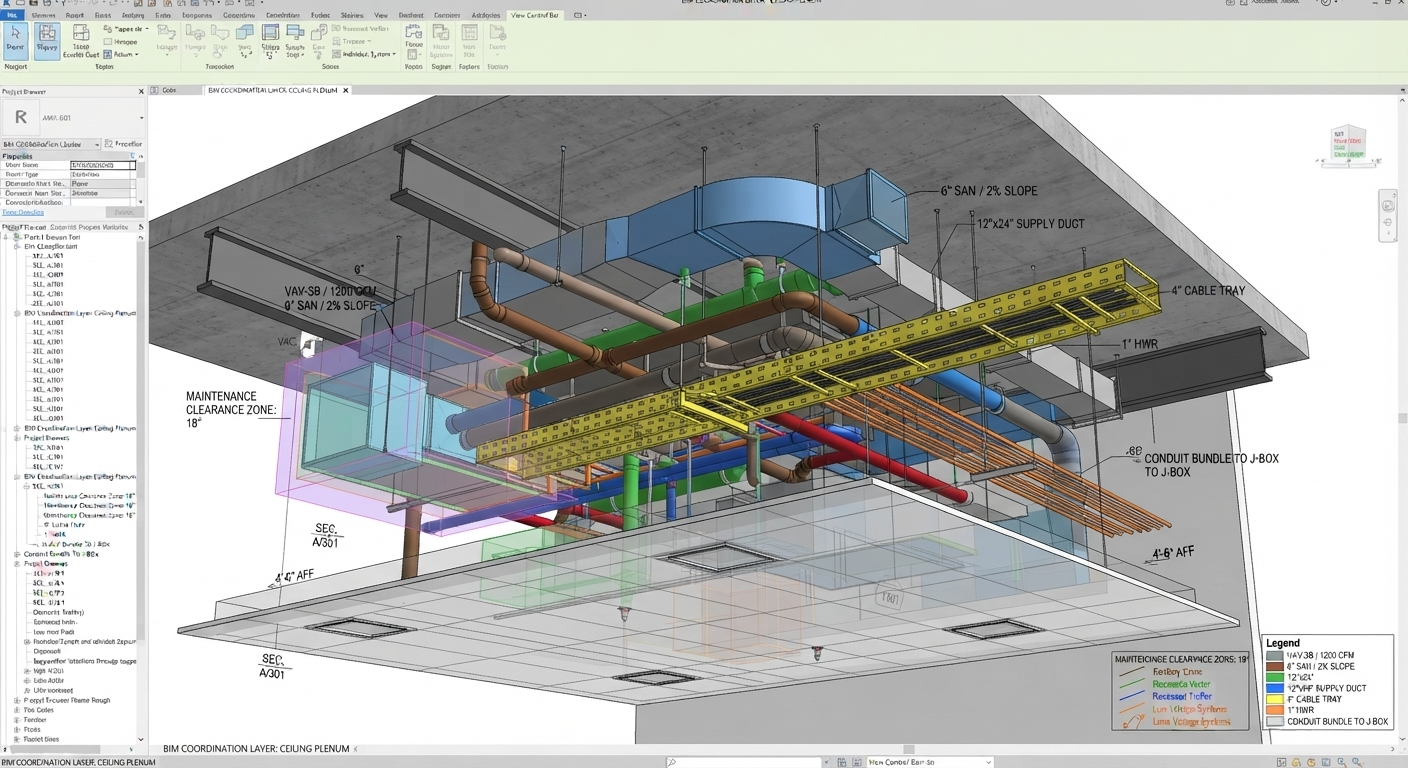
Don’t take off ‘the building.’ Take off systems: excavation, foundations, framing, roofing, insulation, drywall, finishes, and MEP. For MEP-related work, MEP coordination drawings can help provide a coordinated view of mechanical, electrical, and plumbing systems before quantities are finalized. Each system has its own units and counting logic. This system-by-system approach is the core of how to do a material takeoff efficiently: you stay focused, you don’t double-count, and you can pause and resume without losing your place. If you remember only one thing about material takeoff, make it this: work in systems, not rooms.
Step 5: Count and Measure Every Material
Now do the actual work. There are four measurement types:
- Count (EA): doors, windows, fixtures, outlets, sprinkler heads, hangers.
- Length (LF): lumber, pipe, conduit, trim, rebar runs, baseboard. For complex reinforcement quantities, structural rebar detailing can provide a more precise basis for counting bars, bends, laps, and related reinforcement requirements.
- Area (SF): drywall, flooring, roofing, paint, insulation, sheathing.
- Volume (CY): concrete, gravel, backfill.
Work system by system, sheet by sheet, and mark each item on the drawing as you take it off (on-screen highlighting or a colored pencil on paper). This mark-up discipline is what separates accurate takeoffs from sloppy ones. It is also the step that answers how to do a material takeoff without missing anything” the drawing itself becomes your checklist.
Step 6: Apply Waste Factors and Conversion Factors
Raw quantities are rarely what you order. Lumber has cut waste, concrete spills, and drywall comes in fixed sheet sizes. For rebar, accurate measurement, bending, and lap calculations matter. See our rebar detailing process for a closer look. The following are typical planning allowances, not universal industry rules. Actual waste can vary based on project conditions, material specifications, installation methods, and supplier requirements.
Material | Typical Waste Factor | Why |
Framing lumber | 10–15% | Cut waste, crooked boards |
Concrete | 5–10% | Spillage, over-excavation |
Drywall | 10% | Sheet sizing, cuts around openings |
| Roofing shingles | 10–15% | Starter courses, ridge caps, cuts |
| Flooring (tile/LVP) | 10% | Cuts, pattern matching |
Rebar | 5% | Laps, bends, trim |
Convert measured areas into purchasable units: square feet of drywall divided by 32 (a 4×8 sheet) or 48 (a 4×12). Feet of 2×4 divided by the stock length you actually buy. This conversion step is where most DIY takeoffs fall apart and where knowing how to do a material takeoff like a pro really pays off.
So when someone asks you about performing a material takeoff that suppliers can actually quote from, the honest answer starts here: always convert to the unit you buy, not the unit you measure.
Step 7: Cross-Check With a Second Pass
Do a quick sanity pass. Does your total concrete match a rough cubic-yard estimate from the foundation perimeter? Does your outlet count align with the room count? Estimators call this “reasonableness checking,” and it catches 80% of errors before they reach a bid. If you are still learning how to do a material takeoff confidently, this step is your safety net.
Step 8: Organize the Final Takeoff Sheet
Format your quantities by trade and phase, with units, waste-adjusted totals, and drawing references. Anyone on your team or your supplier should be able to read it without asking you a single question.

Step 9: Hand Off for Pricing
Send the clean quantity list to pricing, whether that’s your own cost database, supplier quotes, or your estimating software. A clean takeoff makes pricing fast and defensible.
Practical Example: Small Garage Addition Takeoff
Theory only gets you so far. Here is how to do a material takeoff in practice. Consider a 20 ft × 24 ft attached garage addition. An estimator reviews the architectural and structural drawings, then breaks the takeoff into measurable materials:
- Footings: 88 LF × 1 ft wide × 8 in. deep = approximately 2.2 CY, or about 2.4 CY with waste.
- Slab: 20 × 24 ft at 4 inches thick = approximately 5.9 CY, or about 6.2 CY with waste.
- Wall framing: Count 2×6 studs, plates, headers, corners, and framing around doors and windows directly from the plans.
- Sheathing: Approximately 35 sheets, including a reasonable waste allowance.
- Roofing: Approximately 7.2 squares based on the measured roof area and waste.
- Drywall: Approximately 38 sheets after accounting for cuts and waste.
Before pricing, the estimator cross-checks each quantity against the drawings and specifications to ensure nothing is missed or double-counted.
Common Mistakes When You Do a Material Takeoff
- Ignoring the specs: Drawings show size; specs show type. Missing “Type X” or “pressure-treated” changes the order and the price.
- Forgetting vertical surfaces: New estimators measure floor area and forget walls. Drywall and paint takeoffs balloon when you remember them.
- Double-counting: Door frames and doors come as assemblies. Taking off both is a classic error.
- Skipping waste entirely: Quoting raw measured quantities guarantees a short order and a mid-project supply run. Every guide on the material takeoff process worth reading hammers this point, and projects still run short every week.
- No drawing mark-up: If you can’t see what you’ve counted, you’ll count it twice or miss it.
Tools: Paper, Spreadsheet, or Takeoff Software?
- Paper and scale ruler: Useful for learning the basics and handling small jobs.
- Spreadsheet: Helps organize quantities, units, waste factors, and drawing references.
- Takeoff software: Tools such as PlanSwift, STACK, and Bluebeam’s takeoff and estimating software can improve measurement speed, accuracy, and quantity tracking.
- Best choice: Use a spreadsheet for simple projects and dedicated software for larger or repetitive takeoffs.
The Bottom Line
At the end of the day, how to do a material takeoff comes down to discipline: complete documents, a system-by-system approach, honest waste factors, and a second-pass sanity check. Following those four habits, how to do a material takeoff stops being a chore and becomes your bidding advantage.
Of course, a takeoff is only as good as the time you have to do it. If you’re juggling bids, fieldwork, and a dozen other fires, our material takeoff services deliver fast, accurate quantity reports from your drawings so you can price the job and win the work instead of counting studs at midnight. We also cover the foundational side in our guide on what a material takeoff is and why it matters, and if you want the quality-control side nailed down, our material takeoff checklist for contractors pairs perfectly with this process.
Frequently Asked Questions
Q: How long does a material takeoff take?
Ans: A residential takeoff typically takes 4 to 16 hours depending on project size and estimator experience. Commercial projects scale from days to weeks. Software cuts this time roughly in half once you’re proficient.
Q: Who is responsible for the material takeoff on a project?
Ans: Usually the estimator or the lead contractor preparing the bid. On design-build jobs, the project manager may own it. On large commercial work, a dedicated takeoff specialist handles it.
Q: What’s the difference between a material takeoff and a quantity survey?
Ans: A quantity survey is broader. It covers labor, equipment, and costs alongside materials. A material takeoff is strictly the material quantities. The takeoff feeds the quantity survey.